Now let's make some pictures!
If you're new to photography (or bird photography in general) this will be an evolutionary process. Take your time and have fun with it. Here are some tips and considerations to get you started.

Background
In Part Two of the series, we worked on setting up and planning for attractive backgrounds - but you still have to pay attention. In the shot of the Black Capped Chickadee above, the distant background provided a nice creamy blur - but it's not perfect. The brown blur over the bird's head wants to draw your attention away from the bird. Always actively look at your background as you're composing the shot, a step or two to the right would have improved this shot tremendously.

Getting Close
Most, but not all, birds will begin to get comfortable with you in their space. To aide in this, sitting (or standing) still and generally being quiet is needed. Limit sudden movements by being more deliberate and slow when you do move - it will ease the bird's tension. Also, sitting in the same spot frequently and for good blocks of time will help the birds adjust to you. I regularly sit within 12-15 feet feet of my closest bird setup with no issues (except be aware of the minimum focusing distance of your lens. This determines how close you can be and still achieve focus). Oh, and one more thing - don't think you can hide. Trust me, the birds know you're there!

Lighting
Needless to say, you want great light for your shots. When you were setting up your backyard birding area, you paid attention to morning and afternoon sweet spots as well as accounted for the movement of the sun over the spring and summer months - so you're all set. Well, not completely. Consider one more technique as the last piece to the perfect shot - fill flash.
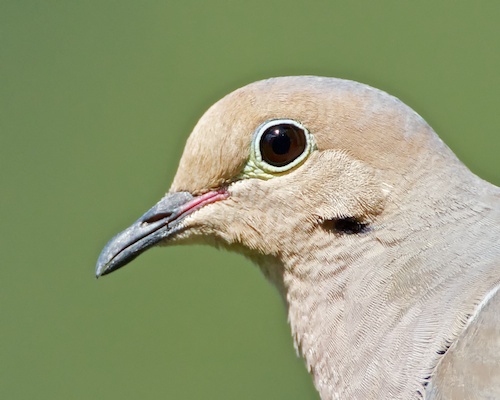
Now, this isn't a requirement (you can make great shots without it) but it helps you deal with some of the inevitable shadow areas that can appear on the bird, especially around the eyes, face and breast. In the Bluebird shot above (and many of my other backyard shots) I use fill flash along with an inexpensive adapter called a better beamer to help my light throw farther. When you're ready, brush up on fill flash and take your shots to the next level.
Coloring
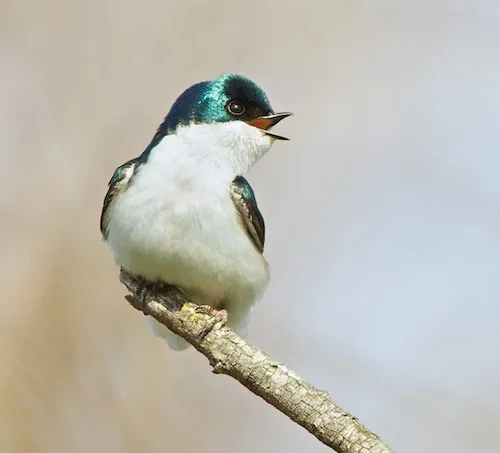
Pay attention to the coloring on certain birds to ensure you time your shot correctly. Similar to many ducks, some birds have an iridescent quality to them that varies depending on their angle to the light. What appears to be almost totally black at one angle, can look quite colorful at a slightly different angle. The Tree Swallow above is a good example. Almost dark black over his eye but the same color behind his eye (at a slightly different angle to the sun) is amazing. Pay attention to the light and learn the coloring traits of your birds.

Be Considerate
Don't endanger your birds for the sake of a picture. When birds are very young, it can be safe (in nesting boxes only) to approach and take close-ups - but keep the following in mind:
Mom and dad will fly off - but will return when you leave
Be quick about it, do not leave the box open for any length of time due to temperature considerations
Do not move the box around
Do not move or disturb the actual nest
Do not approach the box after the first week or so. As the birds get older, you could force them into fledging (trying to fly off) too soon and endanger their life.
For birds that are naturally nesting in trees and other places, don't even approach, you could alert predators to their location (where as properly setup nesting boxes are protected) or damage the nest by moving branches or other obstructions around.

Have fun with this new aspect to your photography - it's a very rewarding experience!
Stay in focus,
Mark