 [/caption]
So I'm a "Chimp"!
 [/caption]
 [/caption]
 [/caption]
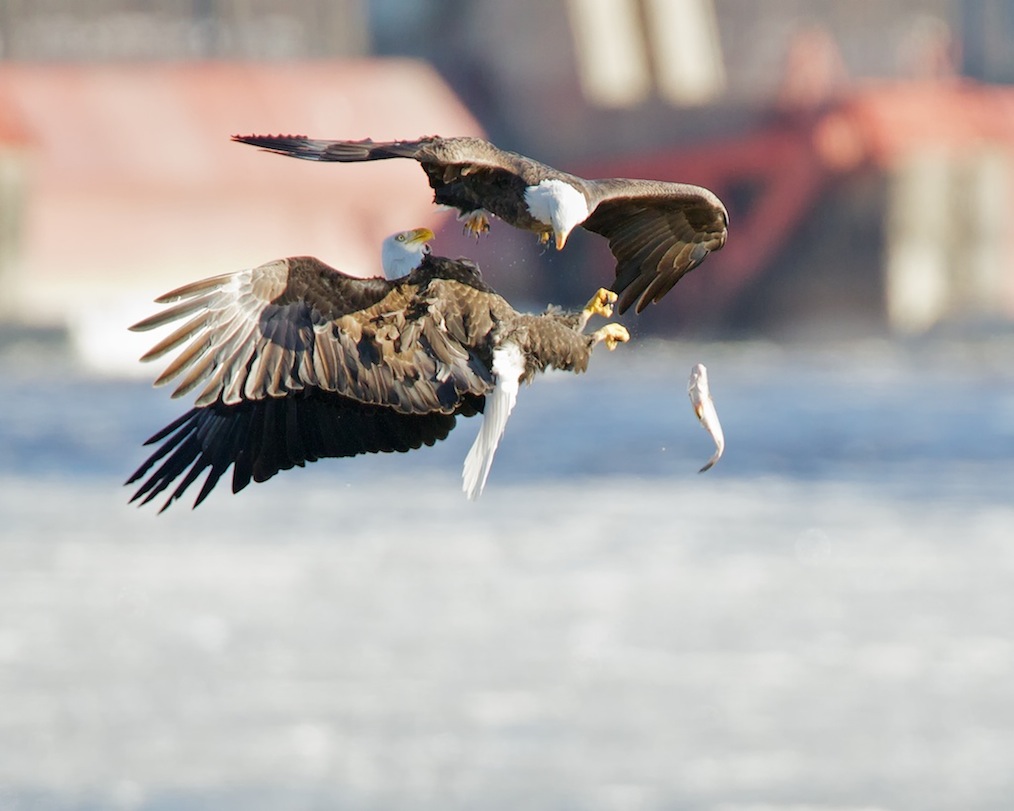
As of this weekend, I'm back to shooting eagles on the Mississippi River. These guys are hard enough to capture and track as they fly above and then dive below the skyline - without having to worry about the correct ISO settings. But the drastic change from light sky to darker waters requires it - or else my shutter speeds would drag to a halt. Maintaining exposure compensation with gloves on is hard enough - adjusting ISO on the fly to be sure I don't run out of shutter speed is just more mental load then I can handle. Enter Auto ISO mode.
With this setup, my aperture almost always drives as low as it will go (f/5.6 in this case) and my shutter stays constant. So basically I'm locked in at f/5.6 and 1/1000th all the time. As more light (or sensitivity) is needed, my ISO automatically starts to increase.
[caption id="attachment_77" align="alignnone" width="432" caption="Truck vs Plane"]
I knew going into the show what the conditions were (where the sun and shadows would be) and I mentally made note of what exposure compensation might be needed as I transitioned from a sky shot to a ground shot. Heck, I was a little prepared! I also used the camera settings below which worked out pretty well:
So yes, I was prepared this time around . . . . . and very lucky I was panning with the plane for this shot!
You can check out some of the other shots here.
[caption id="attachment_69" align="alignnone" width="480" caption="Protection from the muck!"]
From this first outing (including a couple hours in the water) I can conclude these things are pretty good! The nice benefit of these overshoes is that you can wear your normal foot-gear (an important point when this is coupled with a several mile hike) and they are very easy to put on. They unwrap to a wide mouth, making it easy to get your boot laden foot in. A quick snap of the buckle, twist wrap the uppers and Velcro in place - You're all set.
They're a snug fit (which is good) and if you're wearing over hiking boots be sure to go up a size for a good fit. Two hours in the water and no leaks. I've heard complaints from some that these leak - I've found no evidence of that, the seams are sealed up pretty well. Since these are water tight, my calves did sweat pretty good and make my jeans damp - maybe that's what they're running into - not much you can do about that though!
If anything changes, I'll post it here, but so far these guys get two thumbs up from me! Looking for a good place to get them? Checkout Outdoorphotogear.com. Great people to deal with, lots of stuff focused at nature photographers, in stock with quick shipping and great customer service.
[caption id="attachment_65" align="alignnone" width="480" caption="Sandhill Crane Taking Flight"]
I remembered last spring how many times some nice "targets" would suddenly appear in the sky - and just how bad I was at even getting a shot off, much less an acceptable one. I would fumble with my equipment, spot the target and attempt to change my setting and then get a shot off. That's not the case anymore, so what's changed?
Basically, I learned how to better utilize my equipment, pay better attention to what's going on and to walk with camera setup to take unexpected shots. While the first two are important, it's that last one that really pays off! My camera stay in Shutter Priority with at least 1/1,000th setting. Drive mode is set on continuous along with focus, exposure compensation is set for a sky shot and my ISO is set to Auto. Reacting to a suddenly available shot, all I have to do is bring the camera to my face, adjust my exposure compensation if it's not a sky shot and make the picture.
It's working well for me so far this year! Practice and some preparation have paid off and - in case anyone sees me taking those types of shots - I look like I know what I'm doing and not a monkey "romantically engaging a football" if you know what I mean!
This was my first real winter shooting off-trail and in the snow and ice. My primary goals were to keep dry, comfortable and everything (both me and my equipment) in one piece. Several items helped accomplish this: long underwear, good boots, winter socks, gaiters and "Yak Trax".
The Yak Trax are basically snow chains for your feet, easy to put on and comfortable to walk in. They stretch easily around your shoe (various sizes are available) and secure firmly in place to give you increased traction in snow and ice. I've put them to good use this past season and never once had a problem with them - work very well, as advertised.
The traction they provide on pure ice is incredible! With these things in place, I was able to traverse solid sheets of ice with minimal effort and keep both my gear and myself safe. I highly recommend them as a great addition to your winter hiking kit or as part of your winter emergency kit. They're also pretty easy on the wallet and can be found at many locations for around twenty dollars. Two thumbs up from me!!